 HWAMDA
PET preform manufacturing at a glance
PET preforms are made by injection molding. Dried PET resin is melted, injected into a cooled multi-cavity mold, held under pressure, cooled until rigid and removed. Every cycle produces one preform per cavity, so a 72-cavity mold makes 72 preforms each time it opens. The eight steps are:
- 1. Prepare the resin
- Bottle-grade PET pellets, plus colour or rPET if required.
- 2. Dry the resin
- Remove moisture before the PET is melted.
- 3. Convey and feed
- Move the dried resin to the machine in a closed system.
- 4. Melt
- The screw and heated barrel turn pellets into a uniform melt.
- 5. Fill and hold
- The melt is injected through a hot runner into every cavity and packed.
- 6. Cool in the mold
- Chilled water removes heat until the preforms are rigid.
- 7. Take out and post-cool
- The mold opens, the preforms are released and cooled further.
- 8. Inspect and pack
- Preforms are checked, counted and packed for storage or shipment.
The bottle itself is made later, when the preform is reheated and stretch-blow molded.
Step 1: Start with bottle-grade PET resin
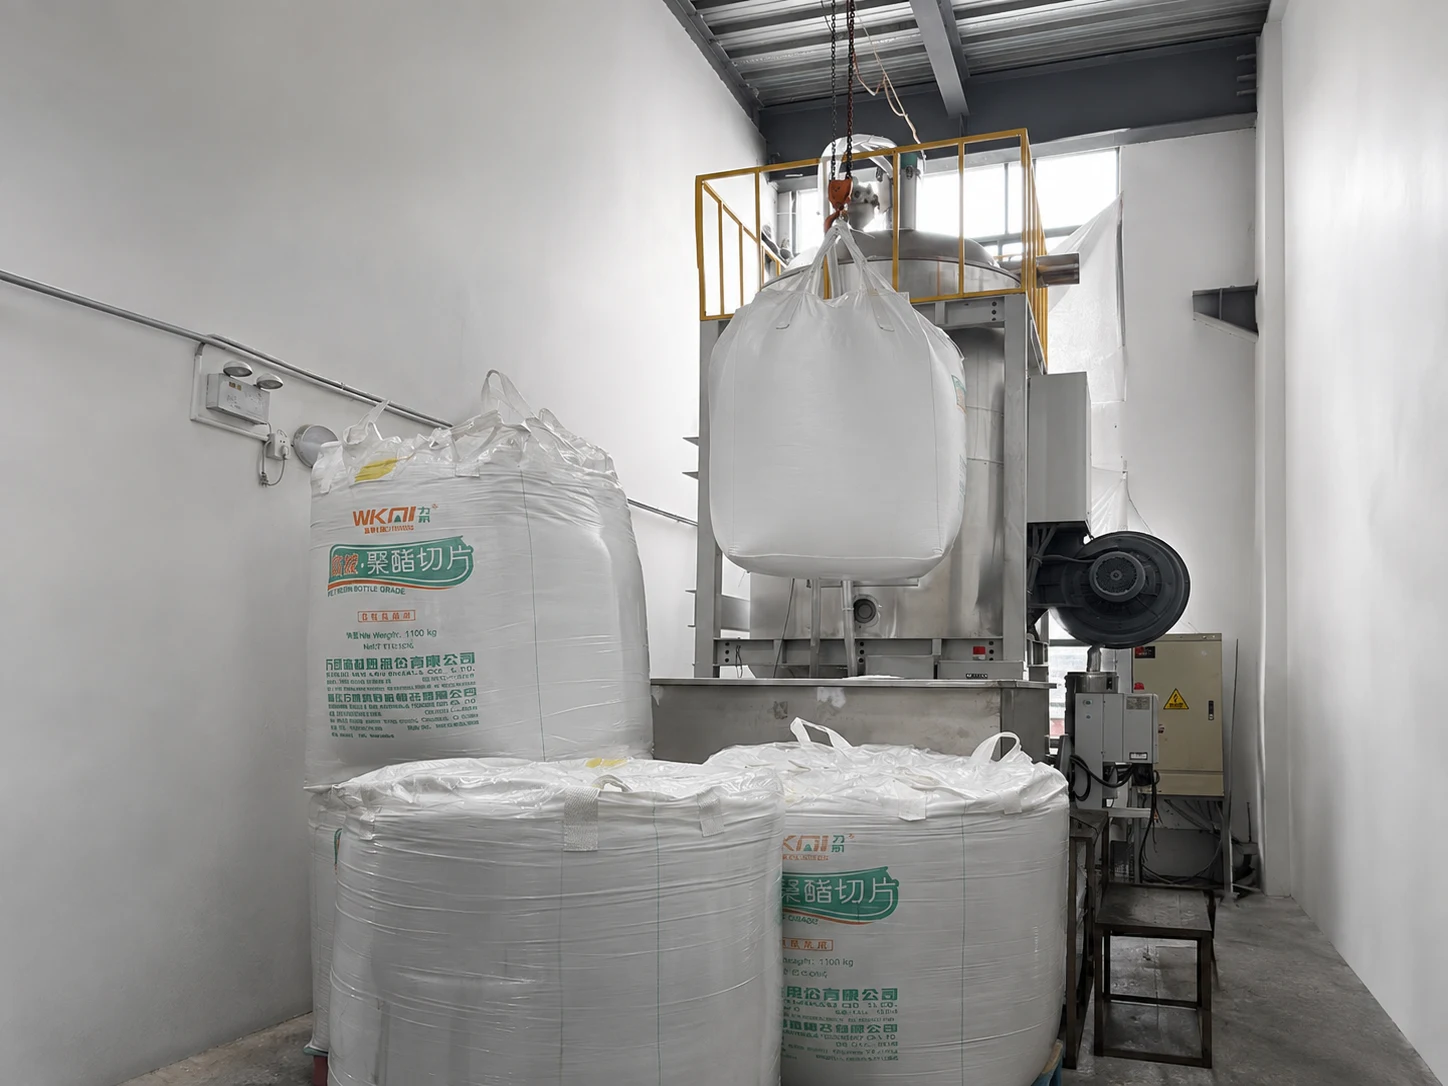
Preforms are made from bottle-grade PET pellets, usually delivered in bulk bags. The grade is chosen with the bottle: water, carbonated drinks and hot-fill products may use different grades. Colour is added later at the machine with masterbatch, and recycled PET (rPET) can be blended in. Bags are kept closed and stored dry and clean until the resin is loaded into the dryer.
Step 2: Dry the resin
PET absorbs moisture from the air, and any water left in the pellets breaks down the polymer when it melts. The result is weaker, hazier preforms and unstable weight. The resin therefore passes through a dehumidifying dryer, set to the resin supplier's data, before it reaches the machine.
Step 3: Convey and feed the dried resin
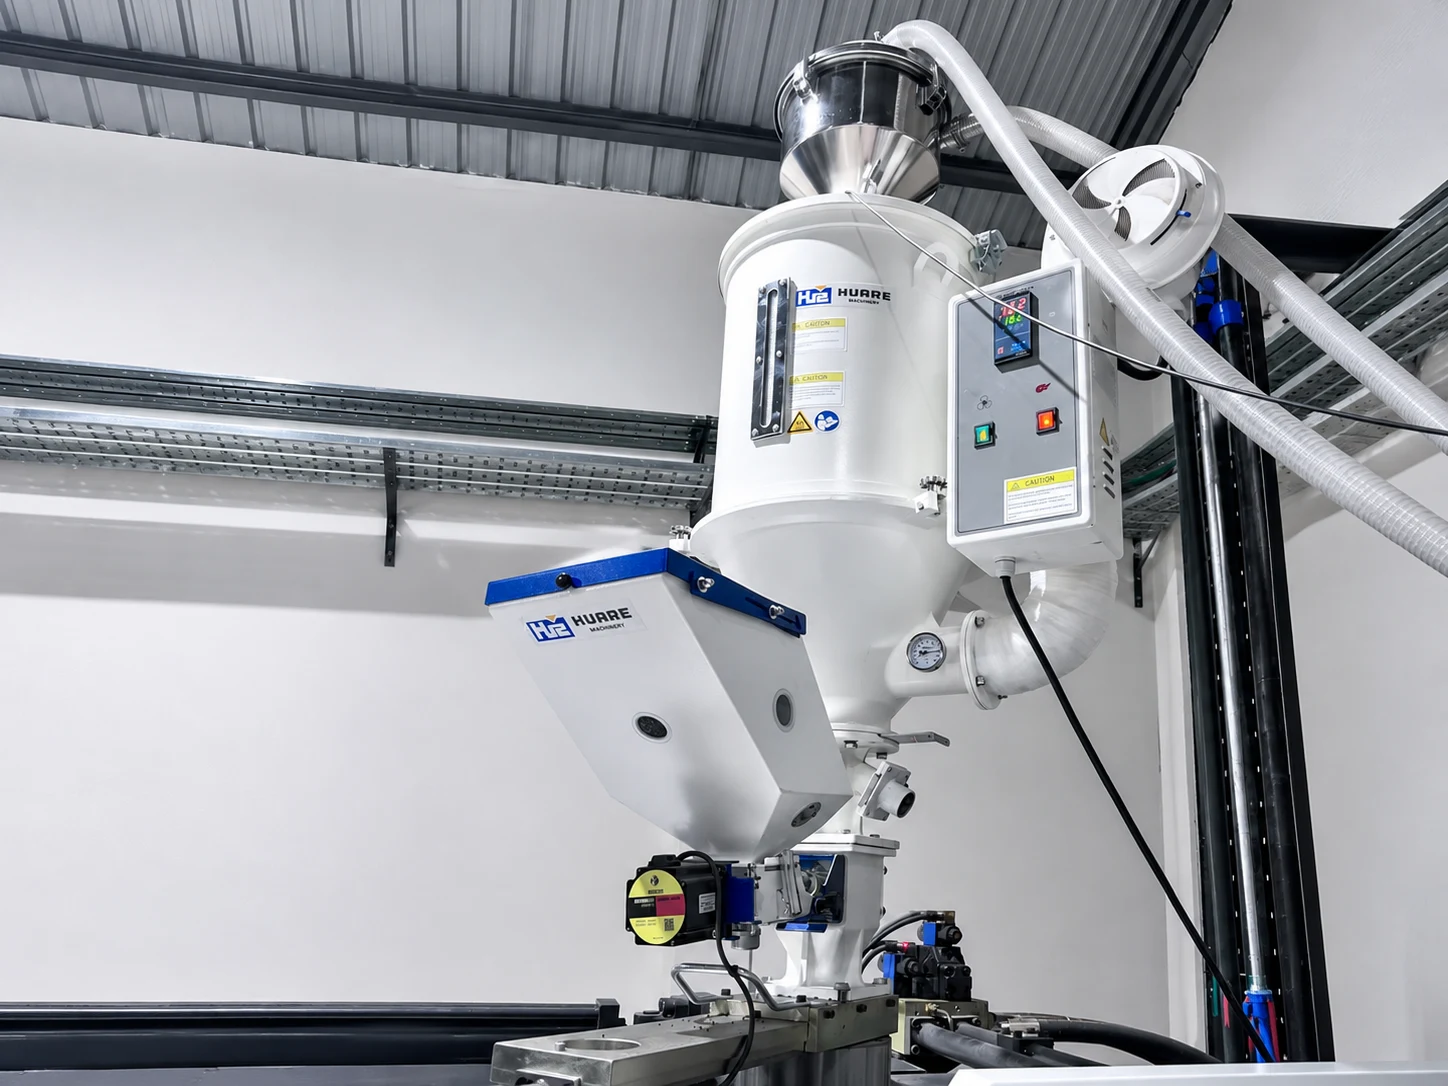
Dried PET is moved to the machine hopper by a vacuum loader or a central conveying system. Closed pipes keep the resin away from humid air and dust between the dryer and the screw. If the preforms are coloured, a masterbatch doser at the machine throat adds a measured amount of colour to every shot.
Step 4: Melt (plasticize) the PET
Inside the injection unit, a rotating screw carries the pellets forward through a heated barrel. Heat from the barrel and friction from the turning screw melt the PET into a uniform, clear melt, which collects in front of the screw as a measured shot for all cavities.
PET is sensitive to heat history. If it stays too long or too hot in the barrel, it can turn yellow and form more acetaldehyde, a by-product that can affect the taste of bottled water. That is why preform machines use screws designed for PET and an injection unit sized to the shot.
Step 5: Fill the cavities and hold
The screw moves forward and pushes the melt through the nozzle into the mold's hot runner, a heated manifold that keeps the PET molten all the way to each cavity. At each cavity, a gate (usually a valve gate) opens and the melt fills the space between the cavity and the core, from the base of the preform up to the neck.
Once the cavities are full, holding pressure keeps pushing a little more melt in while the PET shrinks as it cools. Then the gates close. Every cavity must fill at the same rate and to the same weight, because one slow cavity repeats its defect on every cycle.
Step 6: Cool the preform in the mold
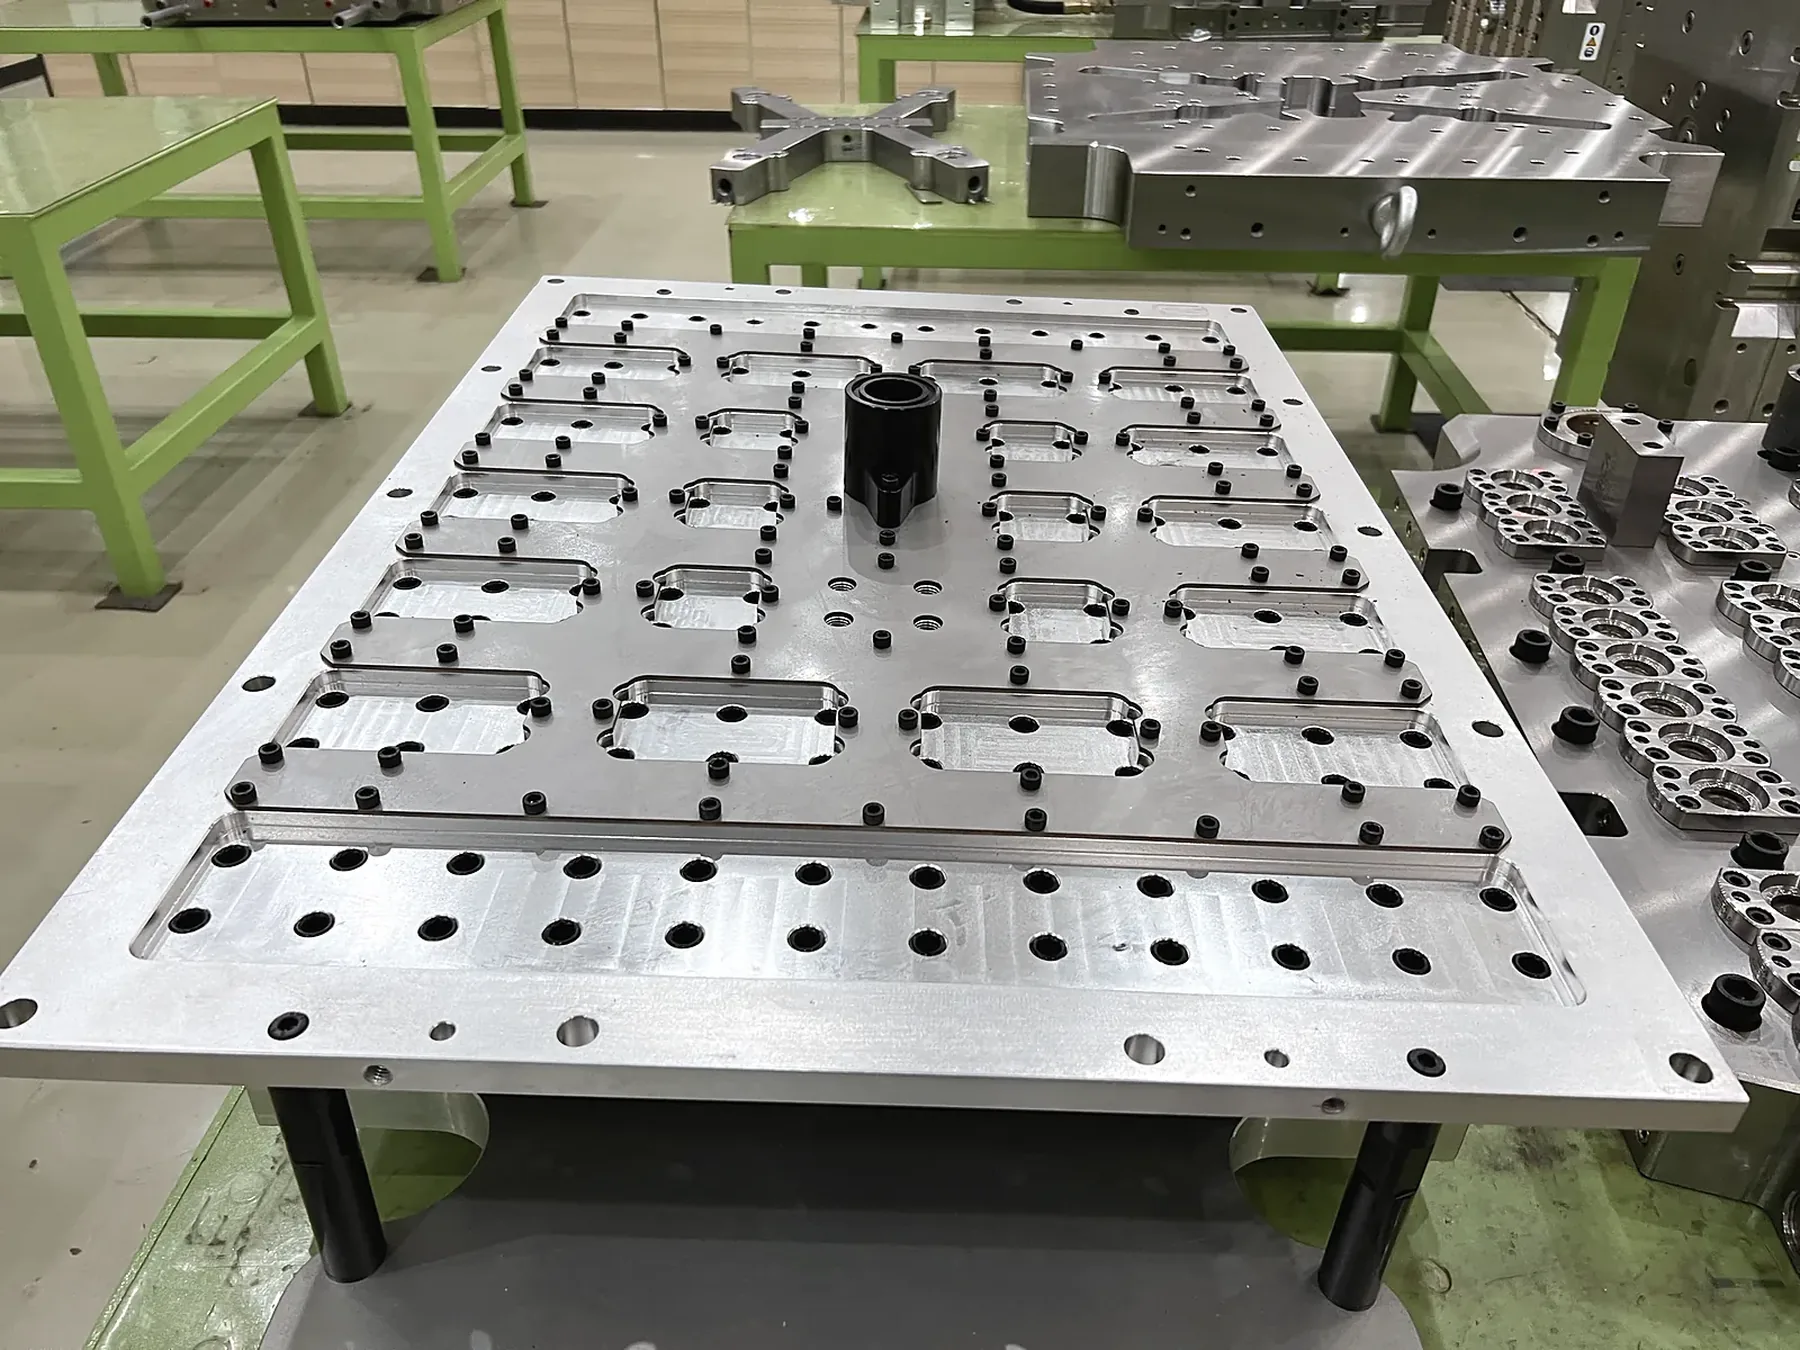
Chilled water flows through channels in the cores and cavities and removes heat from the preform walls. The preform must cool quickly enough to stay clear and become rigid enough to be released without deforming.
Cooling is usually the longest part of the cycle, and thicker walls need more cooling time. The chiller, the water circuits in the mold and the condition of the mold surfaces therefore have a direct effect on how fast preforms can be made.
Step 7: Open, take out and post-cool
The mold opens and the preforms stay on the cores. Because the thread is an undercut, the neck is formed by split inserts (neck splits) that slide apart to release it. The preforms are then pushed off the cores.
On high-cavity production, a take-out robot receives the preforms in water-cooled tubes and holds them there while the next shot is already being molded. This post-mold cooling finishes the cooling outside the mold, so the in-mold cooling time, and therefore the cycle, can be shorter.
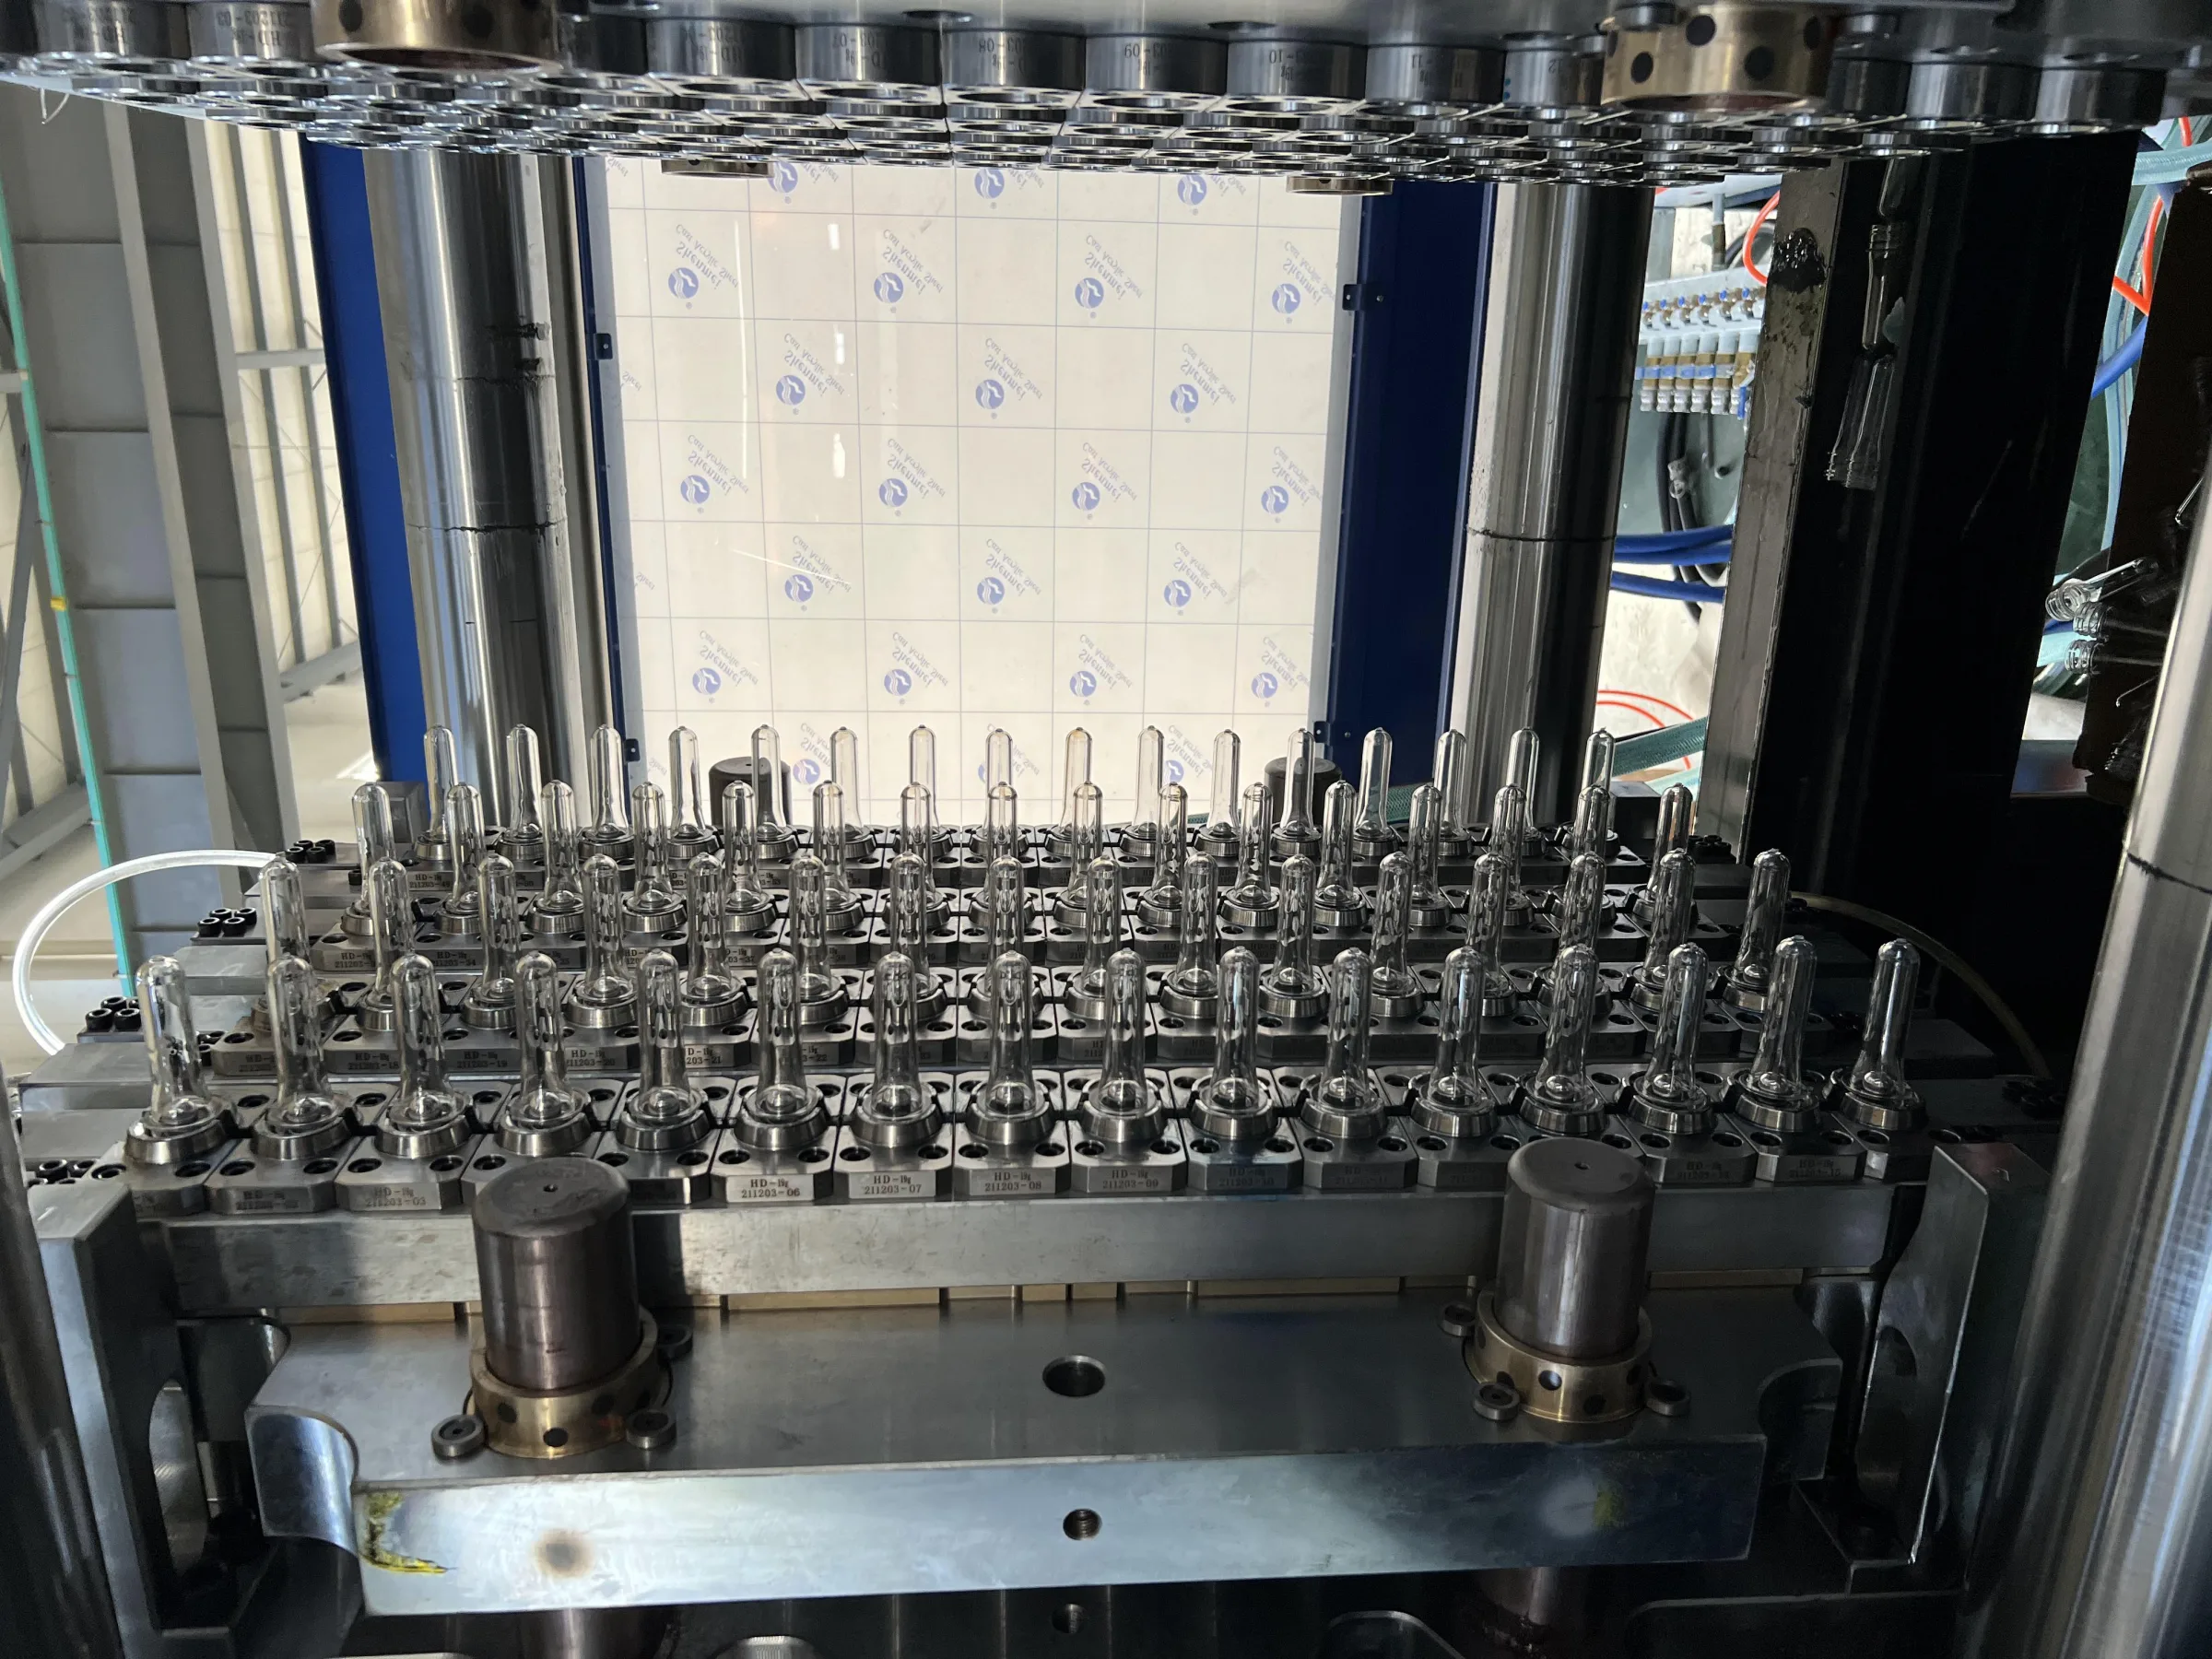
Step 8: Inspect, pack and store
Cooled preforms drop onto a conveyor and are checked before packing. Typical checks are weight, neck dimensions, appearance and the gate, with samples taken from each cavity. Approved preforms are packed in cartons or bulk containers, labelled by lot and stored clean, dry and out of direct sunlight until they are blown.
Cycle time and output: how many preforms per hour?
One cycle covers filling, holding, cooling, mold opening and take-out. It depends mainly on preform weight and wall thickness, the cooling of the mold and the take-out method. The theoretical hourly output is:
Preforms per hour = cavities × 3,600 ÷ cycle time in seconds.
The two examples below were recorded on HWAMDA machines during customer mold trials before shipment. They show the arithmetic only; your own cycle depends on your preform design, mold and cooling.
| Model | Cavities | Preform weight | Recorded cycle | Theoretical output |
|---|---|---|---|---|
| HMD430PET | 72 | 16.5 g | 9.9 s | 72 × 3,600 ÷ 9.9 ≈ 26,180 per hour |
| HMD500PET, with post-mold cooling robot | 96 | 15.2 g | 8.8 s | 96 × 3,600 ÷ 8.8 ≈ 39,270 per hour |
Recorded in customer mold trials; output is theoretical at 100% uptime, before downtime and rejects. Actual results depend on preform design, mold and cooling.
Equipment needed to make PET preforms
Preform production needs more than one machine. The equipment falls into five groups:
- Core equipment
- An injection molding machine built for PET preforms, and a multi-cavity preform mold with a hot runner.
- Material handling
- Dehumidifying dryer, vacuum loader or central conveying, and a masterbatch doser for coloured preforms.
- Cooling
- A chiller for the mold water, cooling water for the machine, and control of humidity around the mold to prevent condensation.
- Part handling
- Take-out robot with post-mold cooling for high-cavity molds, conveyors and packing.
- Quality control
- Precision balance, neck and wall gauges, a polariscope or light box, and a way to blow sample bottles.
Compressed air, electrical supply and floor space are planned with the equipment. For a complete production plan, send your preform and output data.
From preform to bottle
Preform molding ends with a finished preform, not a bottle. In two-stage production, preforms are stored and later reheated and stretch-blow molded on a separate blow molder, often at the bottler's own plant. In one-stage production, the preform is blown on the same equipment while it still holds heat from molding. Many companies mold preforms in one plant and blow bottles in another, close to their filling lines.
What to prepare before planning preform production
A preform project is defined by the preform and the output, not by a machine size. Collect this information first:
- Preform drawing or sample
- The preform you want to make, or the bottle it must blow into.
- Neck finish
- Finish name and drawing, matched to your cap.
- Preform weight
- Target weight and tolerance.
- Resin
- Bottle-grade PET, rPET share and colours.
- Target output
- Preforms per hour or per year, and the number of shifts.
- Plant utilities
- Voltage and frequency, cooling water, compressed air and available space.
FAQ
Frequently asked questions
What is the first step in making a PET preform?
Preparing and drying bottle-grade PET resin. PET absorbs moisture from the air, and the pellets must be dried before they are melted, otherwise the preforms lose strength and clarity.
Why does PET resin need drying before molding?
Water in the pellets breaks down the PET when it melts, which leads to hazy, brittle preforms and unstable weight. Drying conditions follow the resin supplier's data; the PET injection molding guide explains the drying requirements.
How long does it take to make one PET preform?
Each cycle makes one preform per cavity. Cycles depend on preform weight, wall thickness, mold cooling and take-out. In HWAMDA customer mold trials, a 72-cavity mold with 16.5 g preforms ran at 9.9 s, and a 96-cavity mold with 15.2 g preforms ran at 8.8 s with a post-mold cooling robot. Your cycle depends on your preform design, mold and cooling.
How many preforms can be made per hour?
Multiply the cavities by 3,600 and divide by the cycle time in seconds. For example, 72 cavities at 9.9 s gives about 26,180 preforms per hour at 100% uptime, before downtime and rejects.
What equipment do I need to start making preforms?
An injection molding machine for PET preforms, a multi-cavity preform mold with hot runner, a dehumidifying dryer and loader, a chiller, take-out and handling equipment, and basic quality tools. Compressed air and power are planned with them.
Can I make preforms and blow bottles in the same plant?
Yes. Many bottlers mold preforms and blow bottles in the same plant, either with a separate blow molder (two-stage) or with one-stage equipment. Others buy preforms and only blow and fill.