 HWAMDA
How to check PET preform quality
To check PET preform quality, compare samples from every cavity with the preform drawing and the customer standard. Six checks cover most problems:
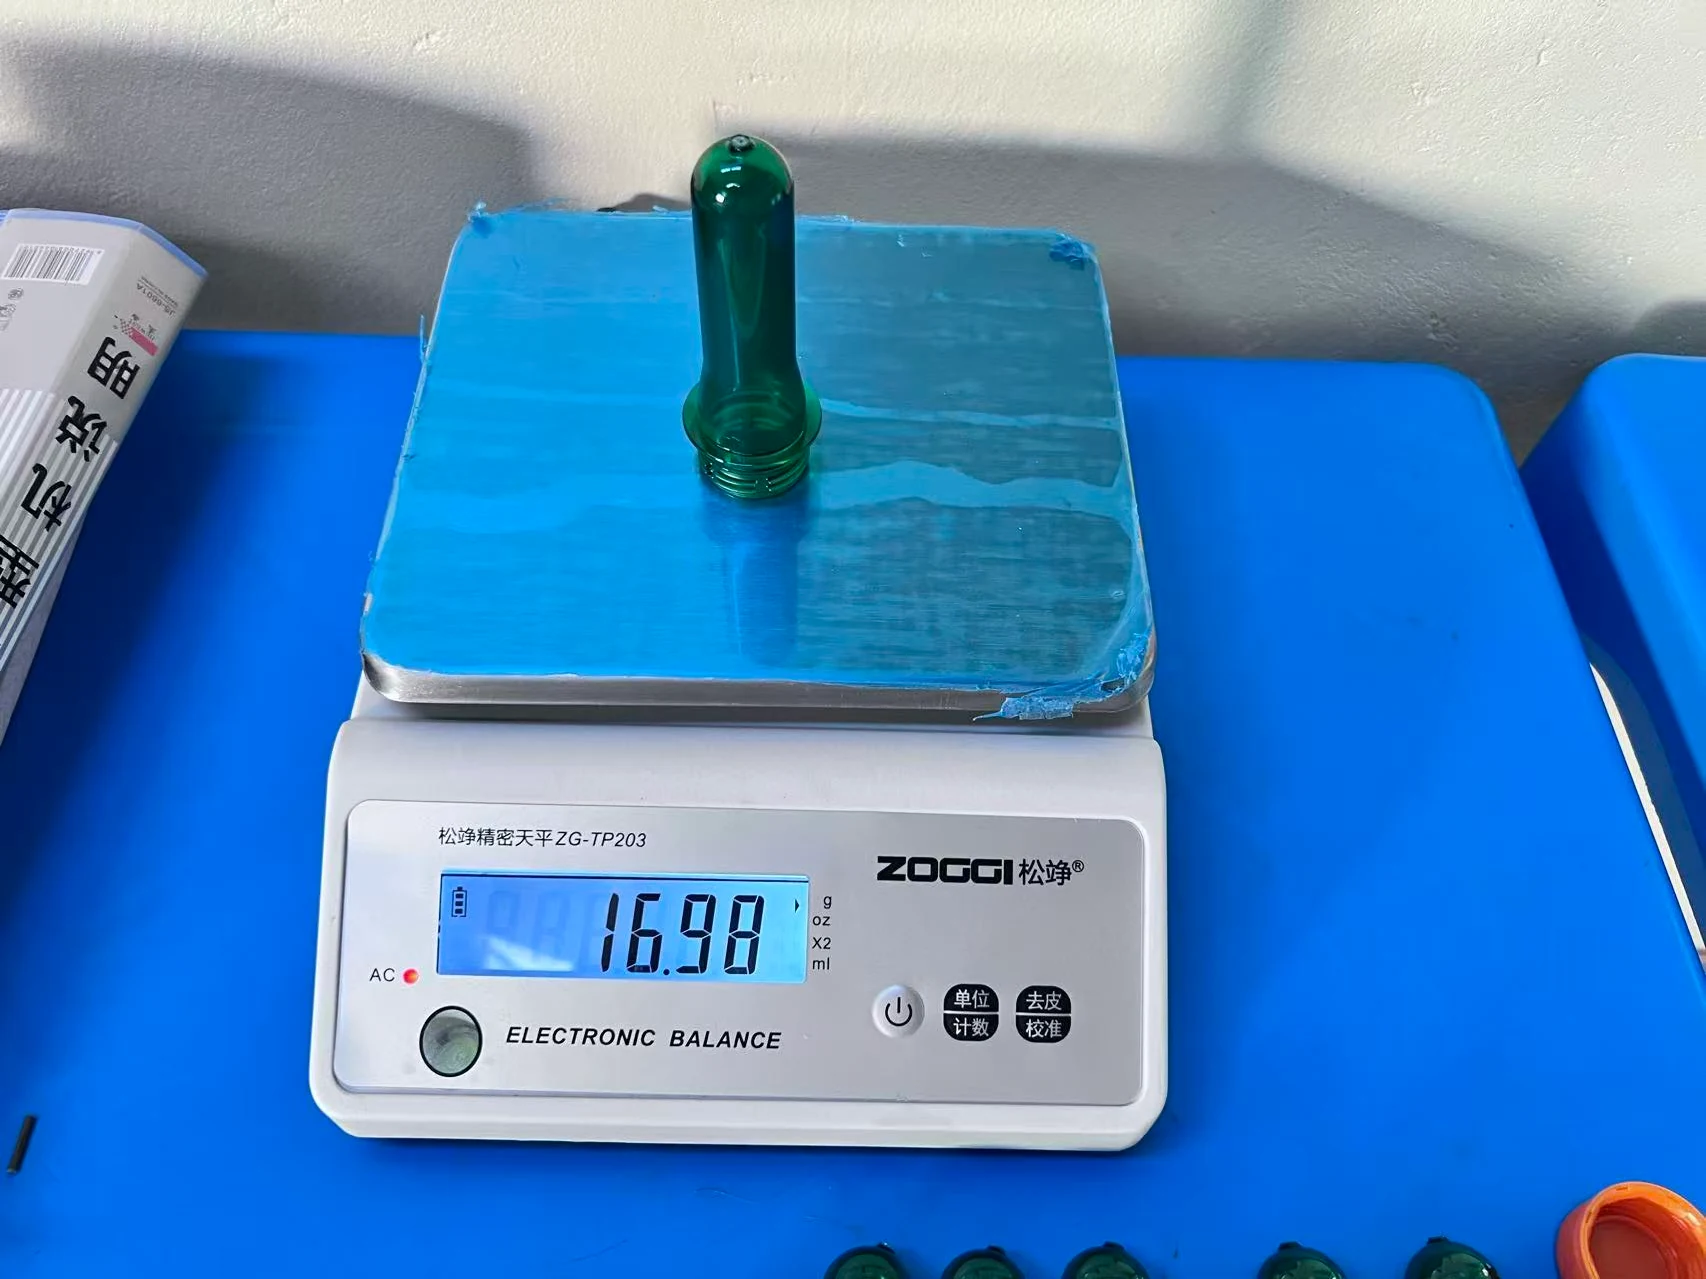
- 1. Weight
- Total shot weight and the weight of each cavity.
- 2. Neck finish
- Thread, sealing surface and support ring against the finish drawing.
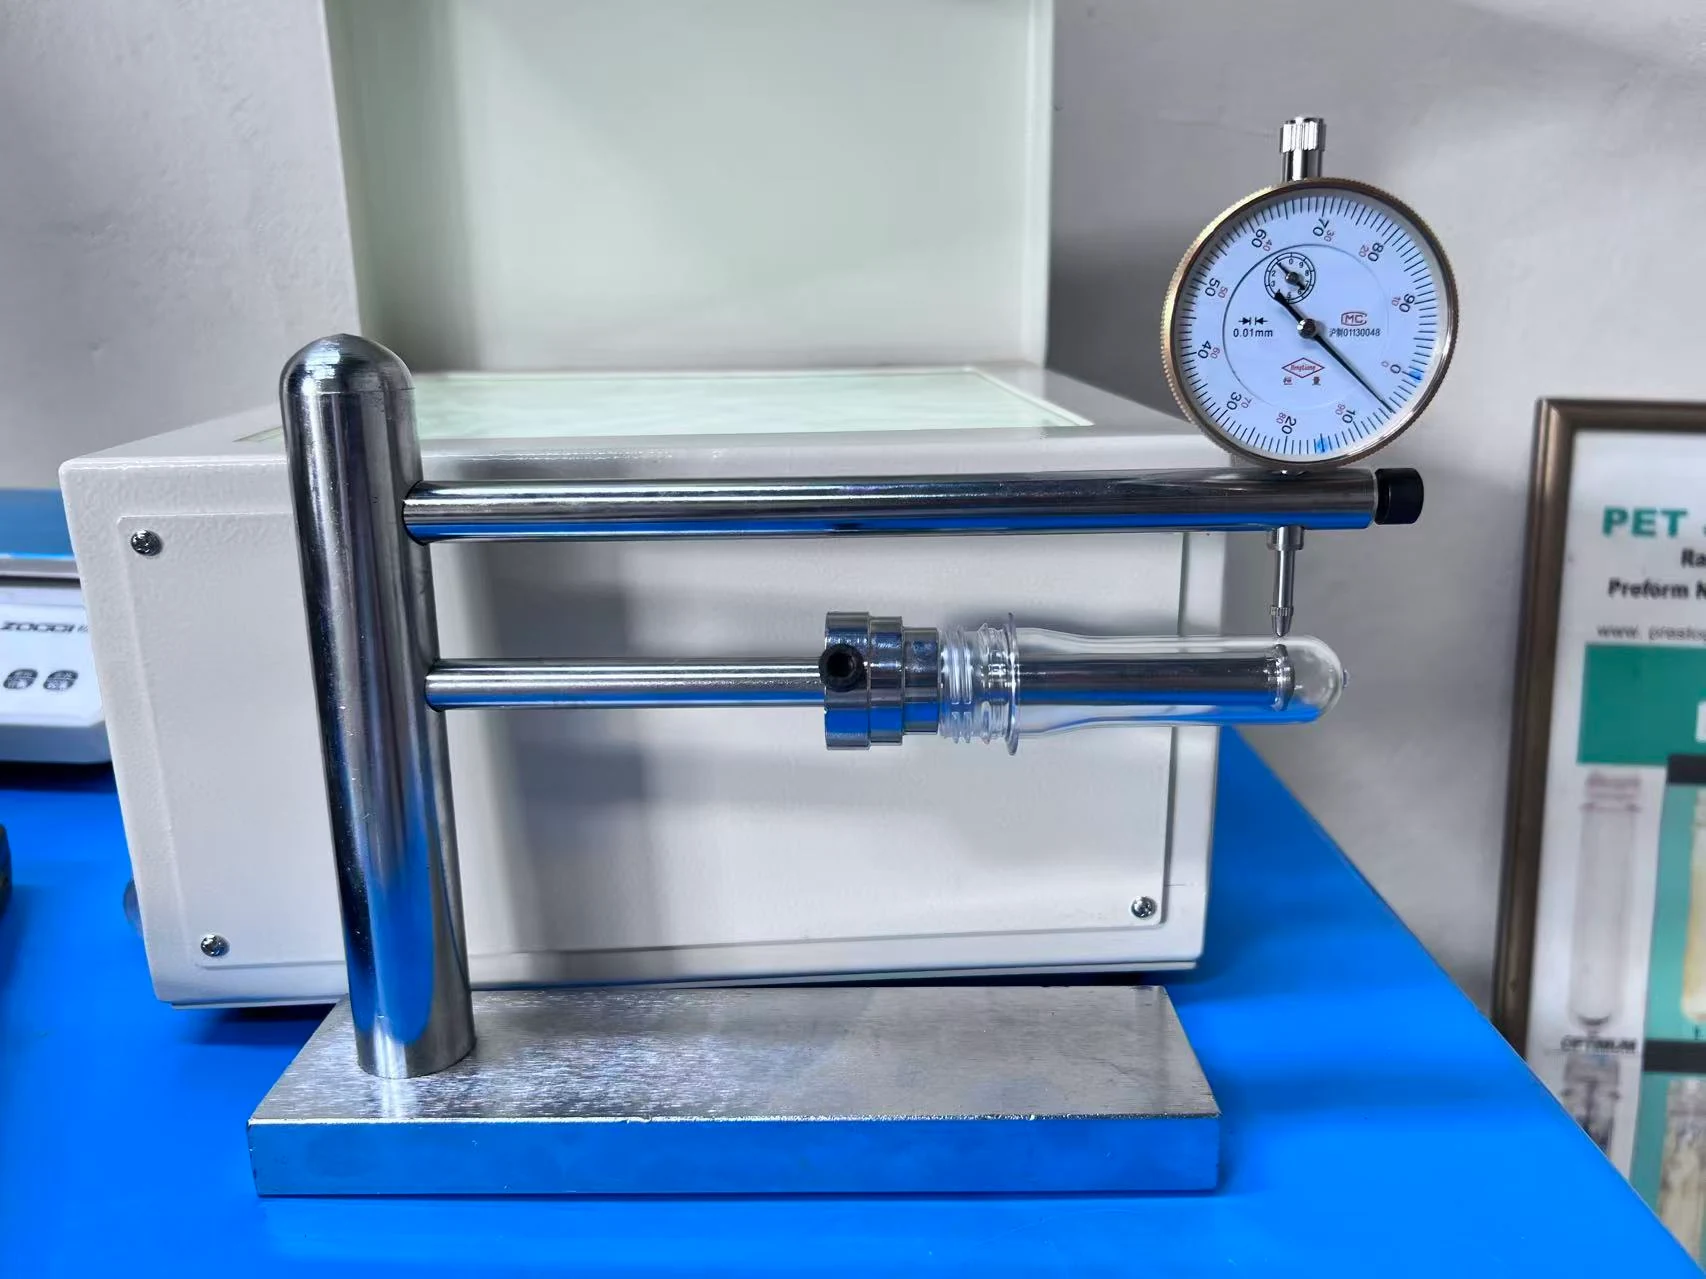
- 3. Wall and concentricity
- Even wall all around the preform, with the core centred.
- 4. Clarity and colour
- No white haze, streaks or colour difference.
- 5. Contamination and gate
- No black specks, bubbles or foreign particles; a clean, short gate.
- 6. Blow result
- Sample bottles blown from the preforms meet the bottle specification.
Why preform quality matters
The neck is final when the preform leaves the mold, so a neck defect becomes a leaking or badly capped bottle. The body decides how the bottle blows: an uneven wall or a hazy zone shows up as thin spots, weak bottles or rejects at the blow molder.
Preforms are also made many at a time. A worn neck split or a cold hot-runner nozzle in one cavity produces a defect on every cycle until it is found, so inspection always tracks results by cavity number.
What to check on a PET preform
- Weight
- Weigh the full shot and individual preforms by cavity number. Shot weight shows the machine's stability; cavity-to-cavity differences point to the mold and hot runner.
- Neck finish dimensions
- Check thread diameter, sealing surface, support ring and height with calipers, go/no-go gauges or a profile projector. Tolerances come from the finish drawing.
- Length, wall thickness and concentricity
- Measure overall length and the wall around the circumference. A thicker wall on one side means the core is off centre (core shift), which gives uneven bottle walls.
- Clarity, colour and crystallinity
- Look for white haze, especially at the gate and the neck, and compare colour between cavities and against an approved sample.
- Contamination
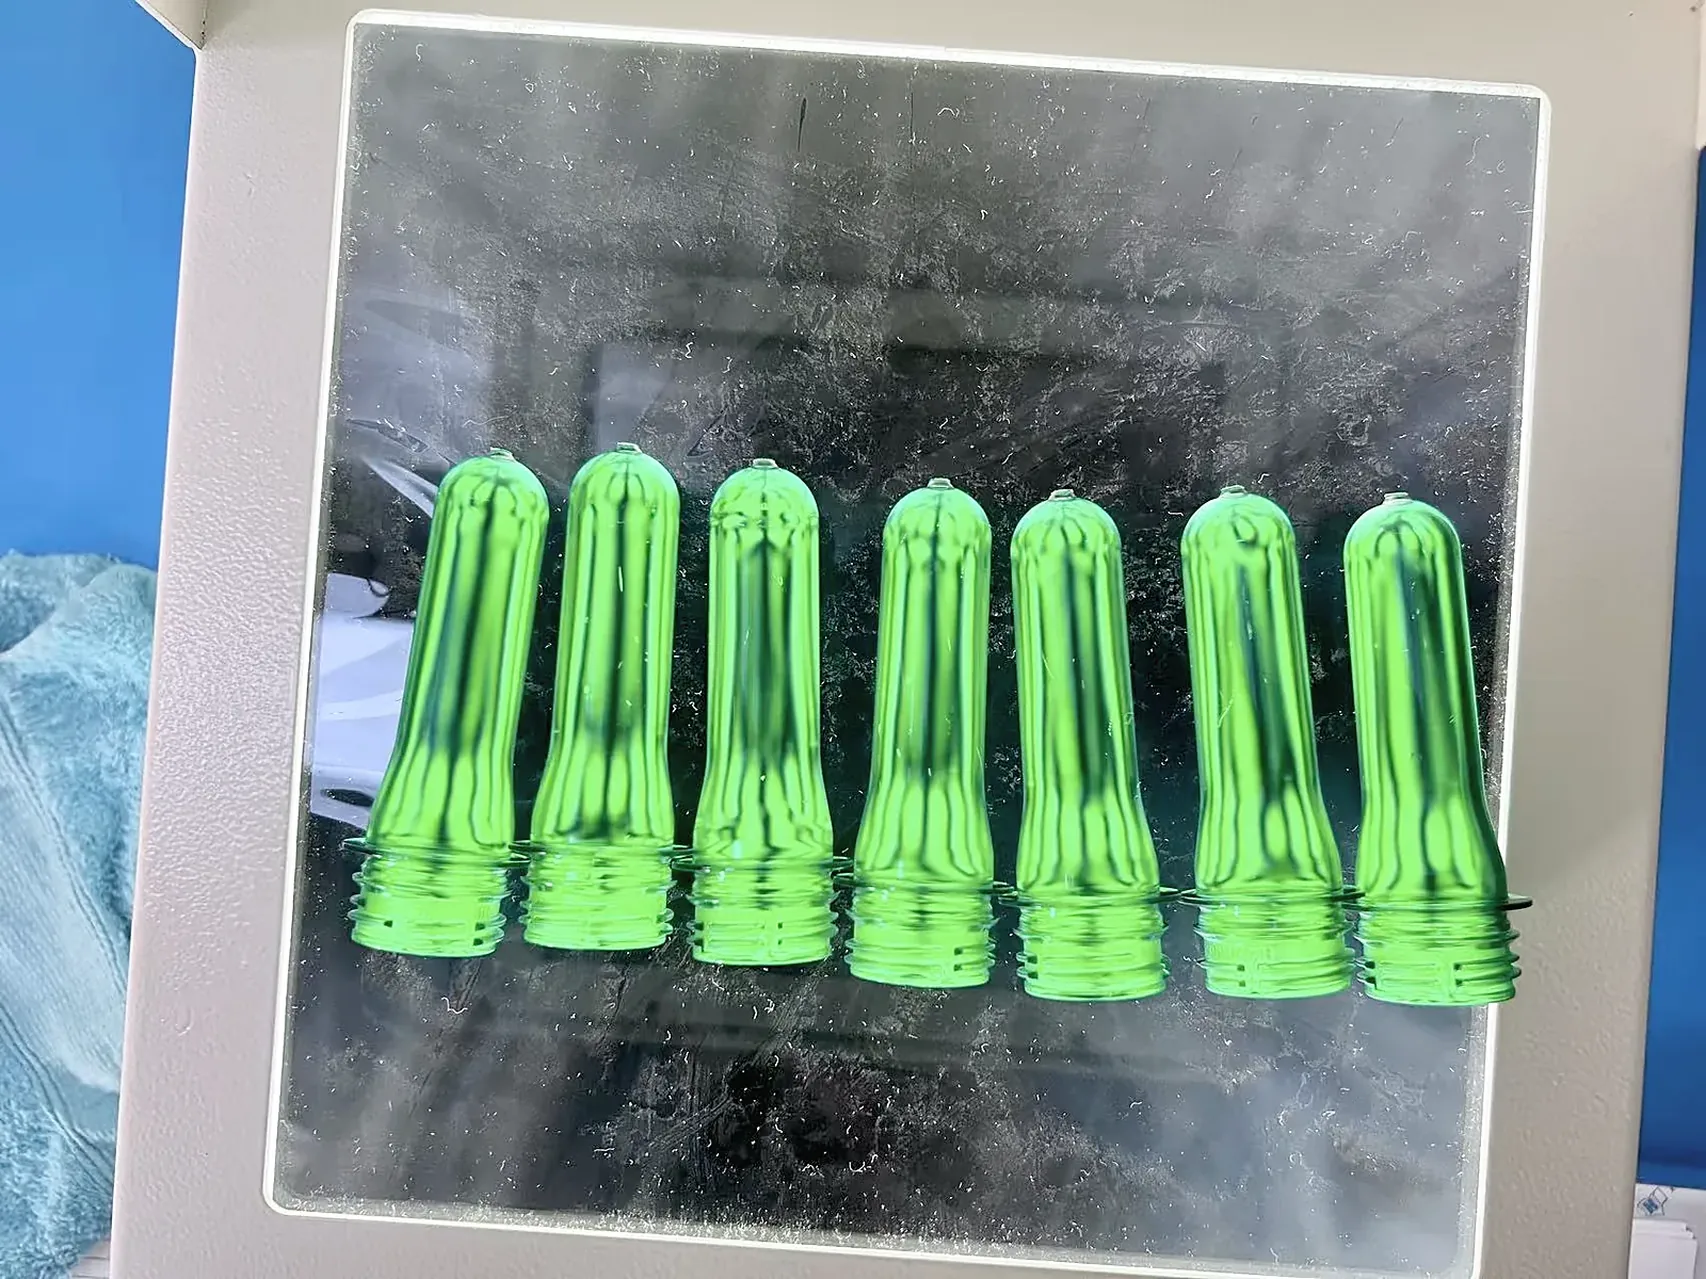
- Check for black specks, foreign particles and bubbles on a light box or against a dark background.
- Gate area
- Check gate length, stringing, holes and white crystallised spots. The gate becomes the centre of the bottle base.
- Stress
- A polariscope shows stress patterns as coloured or dark bands. Compare against an approved sample: the patterns depend on preform design, so they are hard to judge without a reference.
- Blow test
- Blow sample bottles on the intended blowing process. A preform can pass its own checks and still blow badly.
Inspection methods and tools
Most plants combine manual checks at the machine with laboratory checks on samples. High-volume plants add camera inspection on the conveyor. Choose the method by what it finds and how often you need it:
| Method | What it finds | When it makes sense |
|---|---|---|
| Precision balance | Shot and cavity weight variation | Every plant, at start-up and through each shift |
| Calipers and go/no-go neck gauges | Neck, support ring and length out of tolerance | Every plant, on samples from each cavity |
| Wall thickness and concentricity gauge | Uneven wall, core shift | Start-up, mold changes and regular sampling |
| Light box and visual check | Haze, specks, bubbles, colour streaks, gate defects | Continuous, at the machine |
| Polariscope | Stress patterns and changes from the approved sample | Start-up, process changes and complaints |
| Inline camera inspection | Visual and some dimensional defects on every preform | High-volume production where 100% checking is required |
| Blow test | How the preform performs as a bottle | New molds, new resin lots and acceptance |
PET preform defects: material and drying
One symptom can have several sources. The tables below list where to look first, not a single cause. Where a defect needs process adjustment, the PET injection molding guide covers process troubleshooting.
| Defect | What you see | Where to look first |
|---|---|---|
| Bubbles or splay | Small bubbles in the wall, silver streaks on the surface | Resin moisture and dryer performance |
| Haze throughout the preform | Cloudy body, loss of clarity in all cavities | Drying, resin lot changes and regrind share |
| Brittle preforms | Cracks at the gate or neck when dropped or squeezed | Resin moisture, excessive regrind, overheated melt |
| Yellowing | Yellow tint compared with the approved sample | Drying temperature and time, regrind, melt heat history |
| Colour streaks | Streaks or shade differences | Masterbatch dosing, carrier compatibility and mixing |
| Foreign particles | Visible inclusions in the wall | Resin storage, open containers, regrind and conveying |
PET preform defects: machine and process
| Defect | What you see | Where to look first |
|---|---|---|
| Short shot | Incomplete thread or support ring in all cavities | Shot size, injection and transfer settings |
| Shot weight variation | Total weight drifts from shot to shot | Screw recovery, check ring condition, holding pressure |
| Black specks | Dark particles, often after stops or colour changes | Degraded material in the barrel or hot runner, residence time, purging |
| Burn marks | Brown or yellow marks near the gate | Melt temperature, residence time, shear at the nozzle |
| Flash in all cavities | Thin fins at the parting line or neck | Clamping force against injection and holding pressure |
| White crystallised zones | Opaque white areas in the body or at the gate | Cooling time and chilled-water temperature |
| Oval preforms | Body or neck not round | Cooling time and handling while the preform is still hot |
PET preform defects: mold
| Defect | What you see | Where to look first |
|---|---|---|
| Cavity-to-cavity weight imbalance | The same cavities are always heavier or lighter | Hot-runner zone temperatures, nozzle and valve condition |
| Core shift, uneven wall | Wall thicker on one side; uneven bottle walls | Core alignment, core cooling, wear of locating tapers |
| Gate defects | Long gate, stringing, hole or white spot at the gate | Valve gate and nozzle tip condition, gate cooling |
| Neck flash or damaged thread | Fins along the thread split line, deformed thread | Neck split wear, damage or alignment |
| Watermarks | Ripples or marks on the surface | Condensation on cold mold surfaces in humid air |
| Scratches | Lines on the body or neck | Ejection, stripper ring and take-out handling |
A defect that appears in one or a few cavities usually points to the mold or hot runner; a defect in every cavity usually points to the material or the machine settings.
Sampling: how often and how many
Follow your customer's standard where one exists. Where it does not, most plants build a plan around these moments:
- At start-up
- A full shot, checked cavity by cavity, before production is released.
- During each shift
- Regular weight and visual checks, with full dimensional checks at set intervals.
- Cavity rotation
- Over a day or a week, every cavity number is checked, not only the first few.
- After any change
- New resin lot, colour change, mold service, stoppage or process change.
- Retained samples
- Keep labelled samples from each lot for complaints and comparison.
PET preform inspection checklist
Print this table and adapt frequencies and tolerances to your preform drawing and customer standard.
| Item | Method | Tool | Frequency (example) | Record |
|---|---|---|---|---|
| Shot weight | Weigh full shot | Precision balance | Start-up, then every few hours | Weight, time, lot |
| Cavity weight | Weigh by cavity number | Precision balance | Start-up and daily rotation | Weight per cavity |
| Neck finish | Measure thread, sealing surface, support ring | Calipers, go/no-go gauges | Start-up and each shift | Pass/fail or values per cavity |
| Length and wall | Measure length and wall around the body | Height gauge, wall gauge | Start-up and daily | Values per cavity |
| Appearance | Haze, specks, bubbles, colour | Light box | Continuous | Defects found, cavity number |
| Gate | Length, holes, white spots | Visual, calipers | Each shift | Pass/fail per cavity |
| Stress | Compare with approved sample | Polariscope | Start-up and after changes | Pass/fail, photo |
| Blow test | Blow sample bottles | Blow molder | New mold, new resin lot, acceptance | Bottle results |
Inspecting preforms during mold trials and acceptance
A new mold or machine is accepted against preforms, so the inspection plan should be agreed before the trial. HWAMDA records preform weight, cavity count and cycle time during customer mold trials before shipment.
Agree these points in advance: the preform drawing and weight tolerance, the neck finish standard and gauges, the target cycle, the number of active cavities, how many sample shots are kept, how cavities are identified, and whether sample bottles will be blown.
FAQ
Frequently asked questions
How do you check the quality of a PET preform?
Take samples from every cavity and check weight, neck finish dimensions, wall thickness and concentricity, clarity and colour, contamination and the gate, then blow sample bottles. Compare the results with the preform drawing and customer standard, and record them by cavity number.
What causes black specks in PET preforms?
Most black specks are degraded PET that has stayed too long in a hot zone, such as the barrel, check ring, nozzle or hot runner, and breaks loose, often after stops or colour changes. Contaminated resin or regrind is the other common source.
Why are some preforms hazy or white near the gate?
White haze at the gate is usually crystallised PET from too little cooling at the gate or a gate area that stays too hot. Haze throughout the preform points more to moisture, degraded resin or cooling in general.
Why do preform weights vary between cavities?
If the same cavities are always heavier or lighter, look at the hot runner zone temperatures, nozzle and valve condition and cavity cooling. If the total shot weight drifts, look at the machine: screw recovery, check ring and holding pressure.
What is a polariscope used for in preform inspection?
A polariscope shows internal stress in clear PET as coloured or dark patterns. It is used to compare production preforms with an approved sample, because a change in the pattern can show a change in the process or mold.
How often should preforms be inspected?
Follow the customer standard. A common approach is a full cavity-by-cavity check at start-up, regular weight and visual checks each shift, a rotation that covers every cavity over time, and a recheck after any change of resin lot, colour, mold or process.